A recent outing identified the only issue on the car since the restoration, which was a very very small water leak from the water pump, mounted on the front of the engine.
We were not sure if it was the pump housing (an original item) or the new housing mount seals or the impeller seals. Very fortunately, Dean Mason of Hall and Hall (UK) was able to assist with providing a new unused water pump housing (in the event this was the problem) plus a set of the new seals. When they arrived in Australia I commenced disassembly in order to rectify whatever was found to be the problem.
The only constraint being that the water pump is not accessible whilst the engine is mounted in the chassis, as it is located hard up against the bulkhead behind the drivers seat. So to gain access requires disassembly of a bunch of components (including water and oil lines, exhaust system, fuel lines ect) in order to then seperate the engine / suspension assembly from the monocoque. As various components weave through the steel BRM engine mounting frame it is not a simple a procedure separating the BRM motor compared to separating a DFV motor from a monocoque in say a Surtees F1 car or such like.
The three photos below illustrate the telltale evidence of a minor leak of coolant (white streaks) which was not bad enough to drip down when the car was stationary however only occurred when the engine was running and high revving when driven, with a vary fine and limited spray onto the back of the fire bulkhead behind the drivers seat back.


And yes there it is (photo below) the water pump securely tucked in tightly behind the chassis monocoque

On a good note, there was no evidence of any major water leak when viewed from below.

In order to access the water pump a few miscellaneous components were removed. I then made a timber (with steel pads) frame to mount on a trolly jack that provided level support for the engine and gearbox / suspension assembly in order to roll this back away from the monocoque.


This then gave access to the water pump assembly.


On detailed inspection, by eye and under magnification Rodney Gibbs (Engine Builder) suspected that the culprit was the water pump housing where one of the internal mounting surfaces was just sufficiently out or round that when hot it may allow hot pressured water to escape past one of the O ring seals. The porosity of the original water pump casting is also quite severe.
The new water pump housing obtained from Hall and Hall was fortunately a perfect match and a much higher grade casting than the original.


Original Pump Housing in photos above and below.


New pump housing from Hall and Hall below. I was also not 100% happy with the original impeller mounting spacer which also ran within a water seal and had Crawford Hall (engineering toolmaker) make another spacer to higher tolerances, which he made from a hard marine grade bronze material.
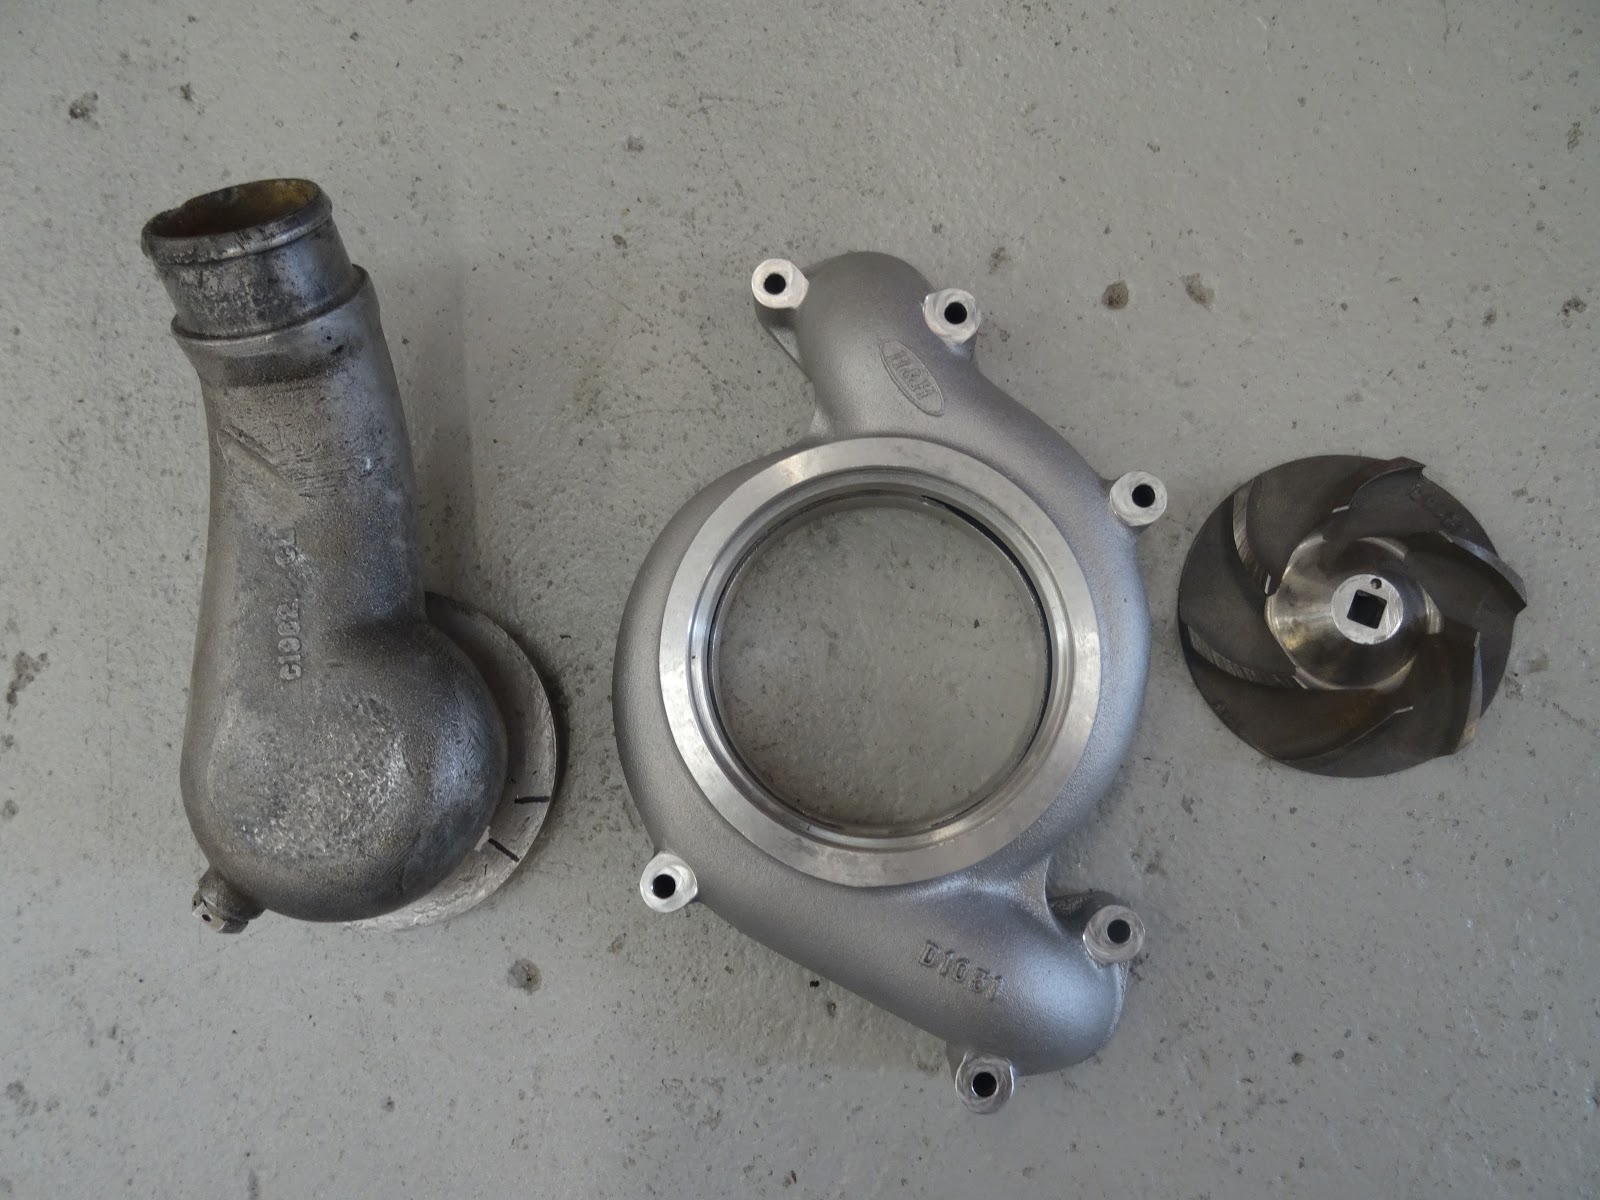
New water pump housing from Hall and Hall in photos above and below.


Reassembly
After cleaning up the coolant stains on the monocoque and using the opportunity to give everything accessible a good spanner check and inspection it was a fairly straight forward exercise of assembly and then rolling back the engine/gearbox assembly to mount with the monocoque and reassemble all the removed components.
Total time taken was 2 days however I feel that in the day with 2 mechanics familiar with the car they probably could have completed the entire exercise in around 2 to 3 hours.


Having now run the car the minor leak has disappeared, in truth it may have been a weep through the porosity of the original pump housing or a distortion between the housing and the inner o ring or even from in between the impeller mounting spacer and seal.
One thing I did become aware of was how I had run some cables when restoring the car (after fitting the engine) particularly the electrical lines, in a manner that did not easily facilitate the separation of the engine / gearbox assembly from the monocoque, so I re-routed some electrical cables and connection points during the reassembly to make future disassembly faster.