Assembly of the two rear uprights was relatively straight forward. All components were crack tested and some minor surface cracks removed from the splines on the axles, The splines were then shot peened to improve crack resistance. New bearings have been fitted to inside and outside of the uprights and the drive shaft components cleaned up really well.
As stated in a prior post my Metallurgist Steve Hooker identified that the steel used in the drive components has a composition similar to a modern Maraging steel and they have some 10% Cobalt with some 5% Molybdenum and some 15% nickel. All this means that they had not rusted and cleaned up to an almost chrome like finish with very little effort. Strong steel.
One thing I have not done, which may dismay some, is to leave the surface finish of the uprights as they were when I purchased the car, which is as it was after being stored in the Donington Museum since 1981 and prior to that stored at BRM after it's final race in July 1974. I have not had them re-dichromated, which reflects my attempt to maintain the car (where possible) in it's original but 'used' appearance.

Photo above shows the axle with the outer bearing mount and the new Timken 30 roller tapered bearing (well greased) and the new Nylos ring fitted.

Upright is placed over the axle / outer bearing.

This allows the new inner tapered bearing to be dropped in over spline end of the axle and then the Nylos ring (which retains the grease) plus the machined spacer slipped over the axle splines as well.

Then the U Joint drive shaft fitting slips over the splines on top of the machined spacer and the central bolt (Titanium and crack tested as all the axle components were!) drops through the centre to be done up from inside the other end of the axle, to squish and keep it all together.

Of course there is a special tool necessary.
Every assembly on this car needs special tools.
I have a growing collection of newly made BRM P160E special tools!
This clever tool, to hold the head of the centre bolt whilst tightening up at the nut at the other end was made by Crawford Hall. I now simply sketch up the day's special tool requirement, take a photo of my drawing on my phone, email it to Crawford and by the end of the day. like magic, another special tool appears!

All finished.
In truth it was a bit more than described above as the new tapered bearings were slightly different in thickness to the originals (even though they had the same numbers), only by a few thou but it necessitated assembly, checking of tightness (ie in rotation of the axle) then dis-assembly and having Crawford take a few thou of the spacer then reassemble and recheck. On one upright it was right first time after taking 15 thou off the inside of the spacer but on the other upright there needed two further (3 thou then 2 thou) thickness adjustments to the spacer. Not too tight and not too loose!

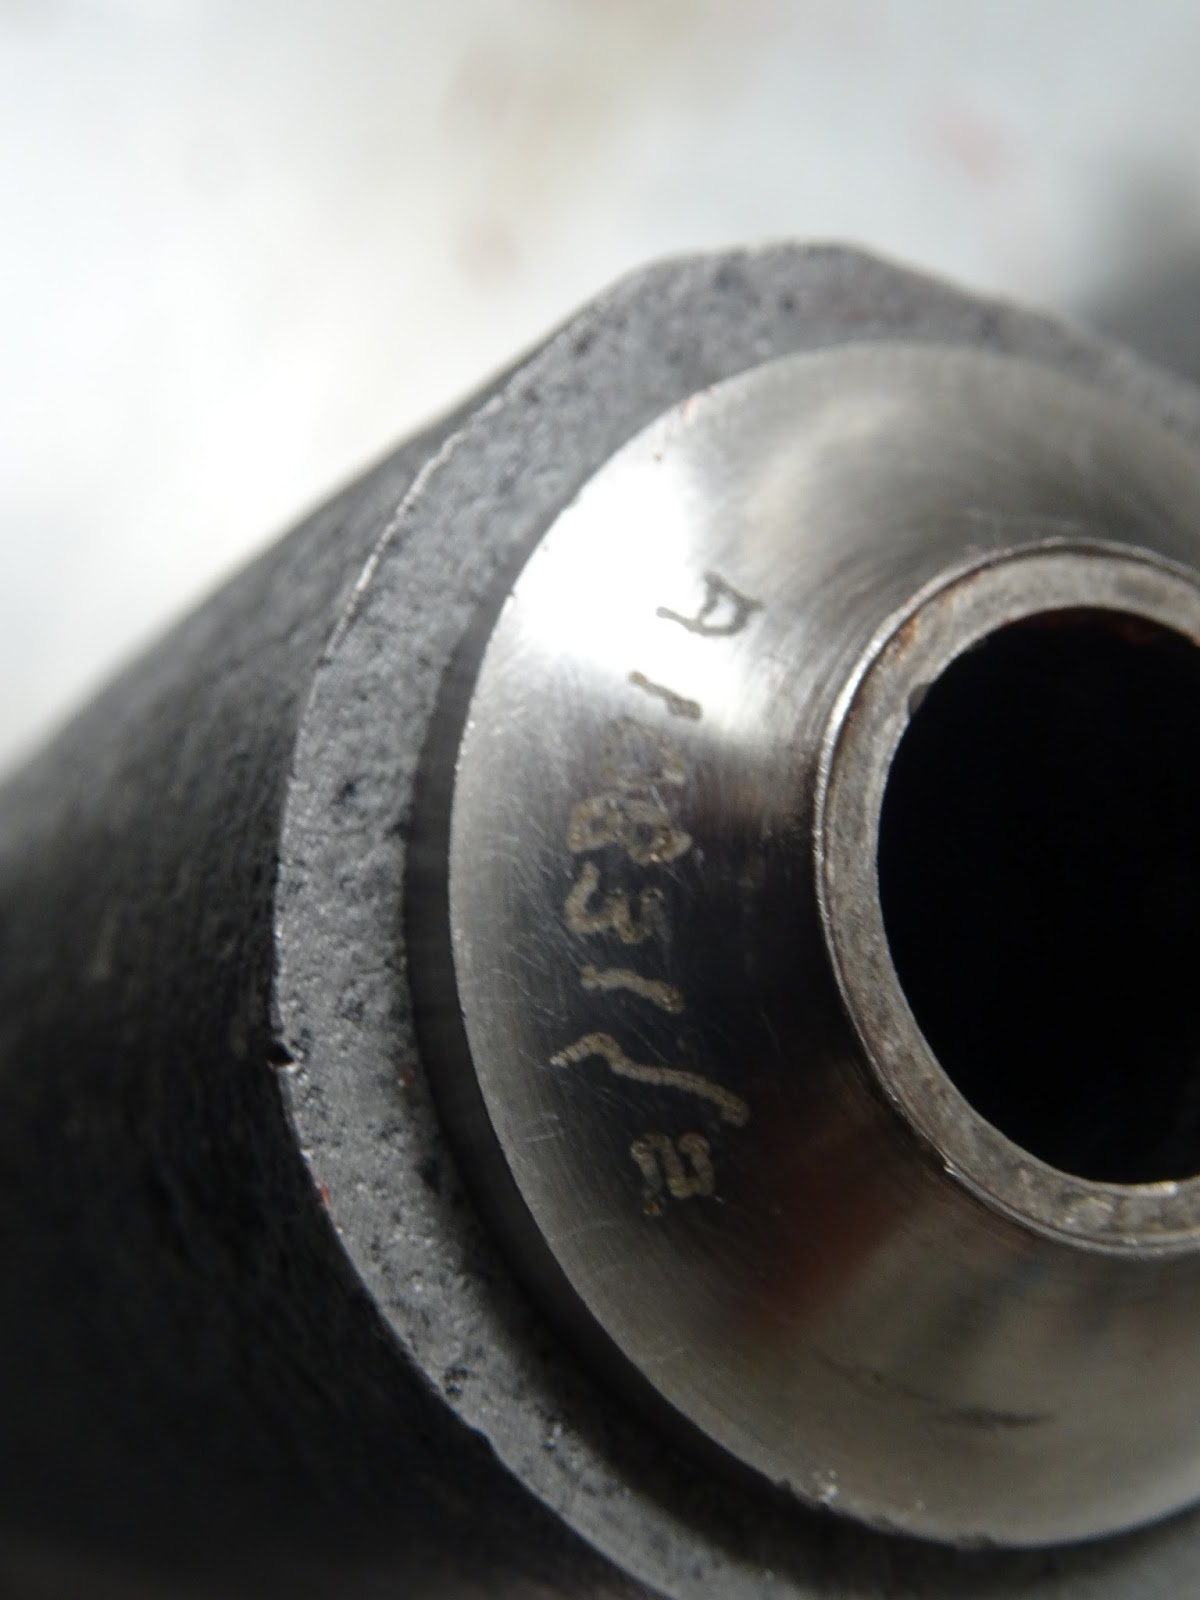
I do really like how all the original components have BRM Part Numbers etched on them in tiny tiny writing.
So when people shake their heads and ask me why on earth I purchased such an original (ie un-restored) car I merely say that I am an avid fan of tiny etched writing.
Steering Rack

It is also now assembled, after the components were crack tested, cleaned and re-greased. Like the uprights it has not been re-dichromated.